 Pin
Pin My sister showed up at my door one Saturday with a sleeve of Nutter Butters and a dare: turn them into something spectacular. I thought she was joking, but the moment I crushed those cookies and smelled that toasted peanut butter aroma, I knew we were onto something ridiculously good. We spent the afternoon experimenting, laughing at our messy kitchen, and by evening, we had created this cheesecake that neither of us could stop eating. It's been my secret weapon for potlucks ever since.
I made this for my nephew's birthday after he declared himself a peanut butter purist who hated cake. He took one bite, went silent, then asked if he could have cheesecake for every birthday from now on. Watching a picky ten-year-old devour two slices and beg for a third was all the validation I needed. It's become our family tradition now, requested more often than any other dessert I make.
Ingredients
- Nutter Butter cookies (24 cookies, crushed): These create a crust with built-in peanut butter flavor, so you don't need to add extra sugar or spices like you would with graham crackers.
- Unsalted butter (1/4 cup, melted): This binds the cookie crumbs together and ensures the crust holds its shape when you slice into it.
- Cream cheese (16 oz, softened): Let this sit at room temperature for at least an hour so it blends smoothly without lumps, which I learned the hard way after trying to rush it once.
- Granulated sugar (1 cup): Sweetens the filling just enough to balance the tanginess of the cream cheese without overpowering the peanut butter.
- Vanilla extract (1 teaspoon): A small amount goes a long way in rounding out the flavors and adding warmth.
- Large eggs (3): These give the cheesecake its structure, but add them gently and don't overbeat or you'll get cracks on top.
- Creamy peanut butter (1/2 cup): Use the standard jar kind, not natural, because the oils in natural peanut butter can make the texture grainy.
- Heavy whipping cream (1 cup): Whip this fresh right before serving for billowy clouds that make each slice feel like a celebration.
- Powdered sugar (1/2 cup): Sweetens and stabilizes the whipped cream so it doesn't deflate too quickly.
- Chopped peanuts (1/4 cup, optional): Adds a salty crunch that contrasts beautifully with the creamy filling.
- Additional Nutter Butter cookies: Because garnishing with the star ingredient just makes sense and looks adorable.
Tired of Takeout? 🥡
Get 10 meals you can make faster than delivery arrives. Seriously.
One email. No spam. Unsubscribe anytime.
Instructions
- Prep Your Pan:
- Preheat your oven to 325°F and grease a 9-inch springform pan, then line the bottom with parchment paper. This step prevents sticking and makes releasing the cheesecake later almost effortless.
- Build the Crust:
- Mix your crushed Nutter Butters with melted butter until it looks like wet sand, then press it firmly into the pan using the back of a measuring cup. Bake for 10 minutes until it smells toasty, then let it cool completely.
- Beat the Base:
- In a large bowl, beat softened cream cheese and granulated sugar on medium speed for 2 to 3 minutes until it's silky and lump-free. Scrape down the sides of the bowl halfway through so nothing hides in the corners.
- Swirl in the Peanut Butter:
- Add vanilla extract and peanut butter, mixing until fully blended and the color is uniform. The smell at this stage is intoxicating, so don't be surprised if you need to taste-test.
- Fold in the Eggs:
- Add eggs one at a time on low speed, mixing just until each disappears into the batter. Overmixing here introduces air bubbles that can cause cracks, so resist the urge to keep beating.
- Pour and Smooth:
- Pour the cream cheese mixture over your cooled crust and smooth the top with a spatula. Tap the pan gently on the counter a few times to release any trapped air.
- Bake Low and Slow:
- Bake for 50 to 60 minutes until the edges are set but the center still has a slight jiggle, like barely-set Jell-O. It will firm up as it cools, so don't wait for it to look completely solid.
- Cool Gradually:
- Turn off the oven, crack the door open, and let the cheesecake sit inside for an hour. This gentle cooldown prevents the dreaded crack across the top.
- Chill Completely:
- Transfer to the fridge and chill for at least 4 hours, though overnight is even better. Patience here makes all the difference in texture and sliceability.
- Whip the Topping:
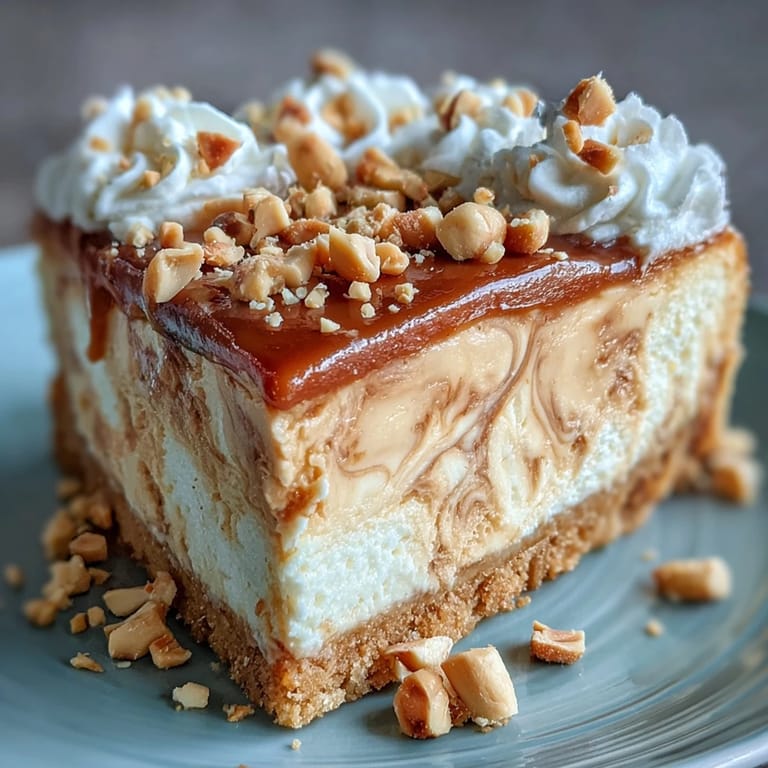
- Right before serving, whip heavy cream with powdered sugar until stiff peaks form. Spread it generously over the chilled cheesecake like you're frosting a cloud.
- Garnish and Serve:
- Sprinkle chopped peanuts on top and tuck a few extra Nutter Butters around the edge. Slice with a hot, wet knife for clean cuts, and watch everyone's eyes light up.
 Pin
Pin The first time I brought this to a dinner party, a friend who claimed she didn't like peanut butter changed her mind mid-bite. She admitted she'd only tried it in sandwiches and had no idea it could taste like this when baked into something creamy and sweet. We ended up talking about childhood snacks and comfort foods until way past midnight, and she left with the recipe scribbled on a napkin. That's when I realized this cheesecake doesn't just taste good, it starts conversations.
Storing Your Cheesecake
This cheesecake keeps beautifully in the fridge for up to five days if you cover it loosely with plastic wrap or store it in an airtight container. I've found that the flavors deepen after a day or two, making day-three slices taste even more luxurious than the first. If you want to freeze it, wrap individual slices tightly in plastic wrap and then foil, and they'll stay fresh for up to two months. Just thaw them in the fridge overnight before serving, and they'll taste like you just made them.
Customizing the Flavor
If you want to play with the flavor profile, try drizzling warm chocolate ganache or salted caramel over each slice right before serving. I once swirled in some mini chocolate chips halfway through pouring the filling, and it turned into a peanut butter cup cheesecake that disappeared in minutes. You can also swap the Nutter Butters for chocolate sandwich cookies and keep the peanut butter swirl for a different but equally delicious twist. Don't be afraid to make this recipe your own, it's forgiving and loves a little creativity.
Serving Suggestions
This cheesecake shines as the grand finale to a casual weekend dinner or a holiday gathering where you want something impressive but not fussy. I like to serve it with a hot cup of coffee or a glass of cold milk, which feels nostalgic and perfect at the same time. If you're feeding a crowd, slice it into smaller pieces because it's rich, and a little goes a long way. Here are a few final thoughts to make your cheesecake experience even better:
- Use a sharp knife dipped in hot water and wiped clean between each slice for bakery-perfect cuts.
- If you're short on time, make the cheesecake a day ahead so all you have to do is whip the cream and garnish before serving.
- Leftover whipped cream can be dolloped on coffee or hot chocolate the next morning, and it feels like a tiny luxury.
 Pin
Pin Every time I make this cheesecake, I'm reminded that the best recipes are the ones that surprise you and make people smile without trying too hard. I hope this one becomes a favorite in your kitchen, just like it has in mine.
Recipe FAQs
- → How long should I refrigerate the cheesecake before serving?
Refrigerate for at least 4 hours, though overnight chilling produces the best texture and flavor development. This allows the filling to set completely and the flavors to meld together beautifully.
- → Can I use a water bath for baking?
Yes, baking in a water bath helps achieve a creamier texture and reduces the likelihood of surface cracks. Simply wrap the springform pan in foil and place it in a roasting pan filled with hot water halfway up the sides.
- → Why did my cheesecake crack on top?
Cracking typically occurs from over-mixing the batter, over-baking, or cooling too quickly. Using the oven door cracking method and proper refrigeration helps prevent this. Remember, slight cracks are normal and easily covered with whipped cream.
- → Can I make this ahead of time?
Absolutely! This cheesecake actually improves when made a day ahead. The flavors deepen and the texture becomes creamier. Store covered in the refrigerator and add the whipped topping just before serving.
- → What other toppings work well with this dessert?
Beyond whipped cream and peanuts, try drizzling with chocolate or caramel sauce. Crushed additional Nutter Butter cookies, peanut butter drizzle, or even chopped Reese's cups make excellent additions for extra peanut butter intensity.
- → How should I store leftovers?
Keep covered in the refrigerator for up to 5 days. The texture remains excellent, though the crust may soften slightly over time. For longer storage, freeze individual slices wrapped tightly in plastic and foil for up to 2 months.