 Pin
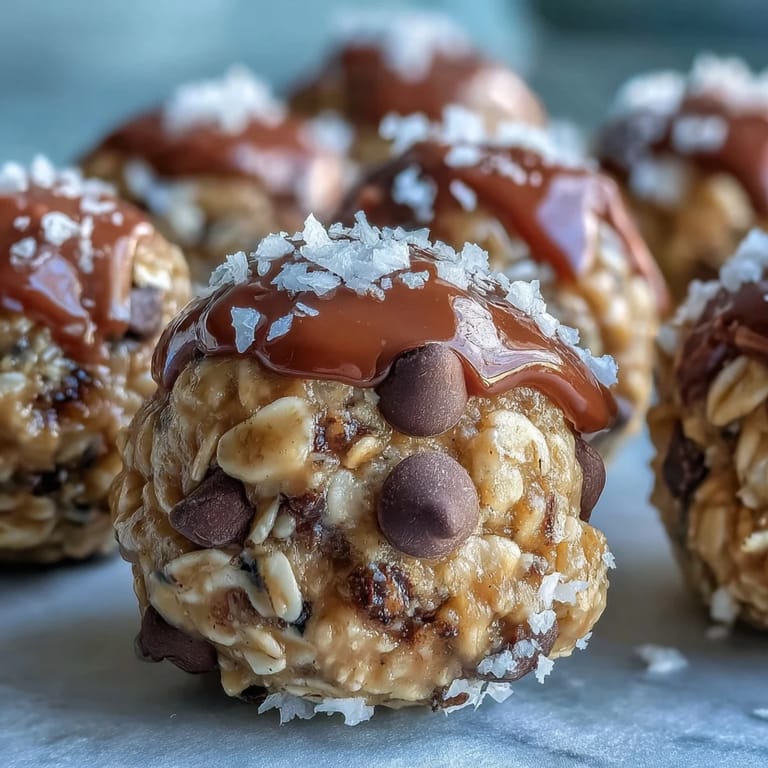
Pin The scent of peanut butter lingering on my hands always reminds me of the first impromptu batch of oat bites I whipped up while cleaning out my pantry on a hot summer afternoon. I wasn't planning on making anything fancy, just something easy to snack on for a quick burst of energy. My kitchen was filled with sunlight and a soundtrack of clinking spoons as I measured, mixed, and tasted. What surprised me most was how the oats soaked up the honey and peanut butter, making the texture chewy and utterly addictive. The process felt effortless, like the whole recipe was nudging me toward a small victory.
One weekend, my friends and I packed these oat bites for a spontaneous beach trip, and their excitement as I unveiled the container made me laugh. Sand stuck to our hands, but the bites disappeared within minutes, leaving behind only sticky fingers and happy chatter. It became one of those moments where a simple snack was the hero, fueling our swims and sun-soaked games. Everyone ended up asking for the recipe before we even left the shore. These oat bites earned a reputation for being both delicious and portable.
Ingredients
- Old-fashioned rolled oats: Always use rolled oats for the best chewy texture—quick oats just get mushy.
- Natural peanut butter (creamy or crunchy): The richness binds everything together—give it a good stir before measuring for even consistency.
- Honey: It sweetens and helps the bites hold their shape—warm the honey slightly if it's thick.
- Mini chocolate chips: A bit of chocolate goes a long way—mini chips distribute better than full-size.
- Ground flaxseed (optional): Adds extra nutrition and subtle nutty flavor—skip if you prefer classic oat bites.
- Unsweetened shredded coconut (optional): Boosts flavor and texture—toast it briefly for more depth.
- Vanilla extract: A splash ties all the flavors together—use pure vanilla for the best aroma.
- Sea salt: Just a pinch balances sweetness—don't forget this tiny step!
Tired of Takeout? 🥡
Get 10 meals you can make faster than delivery arrives. Seriously.
One email. No spam. Unsubscribe anytime.
Instructions
- Get your equipment ready:
- Grab a large mixing bowl, spatula, measuring tools, and parchment paper so everything's within reach.
- Mix the base:
- Combine oats, peanut butter, honey, vanilla, and sea salt. Use the spatula to bring it all together—the mixture should smell nutty and look evenly coated.
- Fold in the add-ins:
- Stir in chocolate chips, flaxseed, and coconut. The dough will thicken and become delightfully sticky.
- Shape the bites:
- Scoop out tablespoon-size balls and roll them gently in your palms. Each bite should feel sturdy and slightly tacky.
- Chill and set:
- Place the bites on your lined tray and pop them in the fridge for 30 minutes. This helps them firm up for the perfect chewy texture.
- Store for later:
- Transfer bites to an airtight container for the week ahead or freeze for up to two months of snack-ready goodness.
 Pin
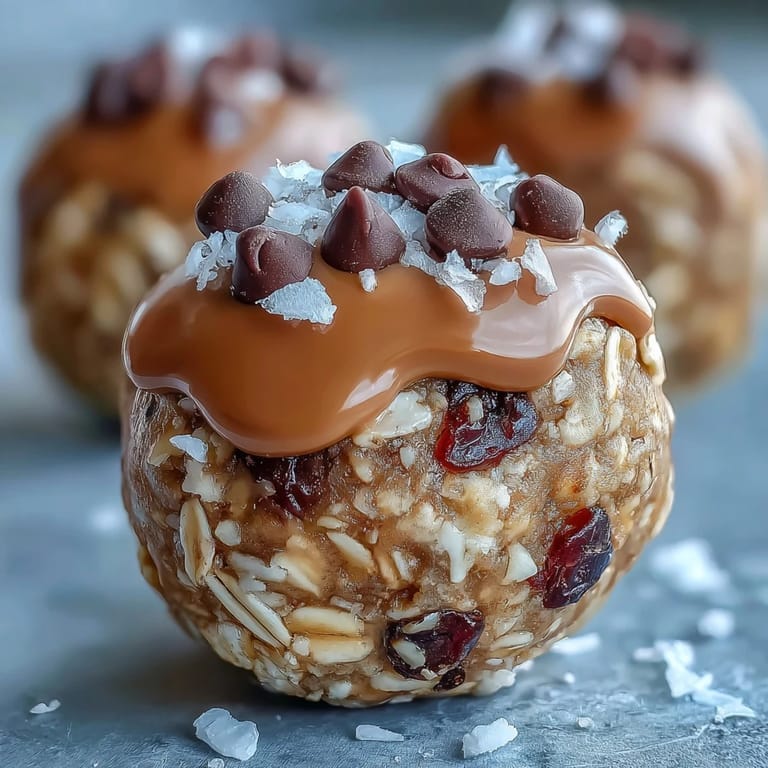
Pin I still recall the look of surprise on my dad's face when he tasted one—he thought I'd spent hours baking something complicated. Instead, these oat bites became our go-to snack for road trips and rainy afternoons. It felt good to have a recipe that brought smiles without fuss, turning ordinary days into something just a bit sweeter.
Snack Prep in Real Time
As you scoop and roll, it's worth tweaking the size of each bite to fit your preference—some days I make mini bites for quick nibbling, other times bigger ones for more substantial snacking. Sticky hands are inevitable, but rinsing your palms in cool water between batches keeps the process quick. If you're prepping this with kids, expect laughter and chocolate chips everywhere. Don't worry about perfection—each bite tastes delightful in its own shape. Just be sure they're all packed together on the tray, so they chill evenly.
Options for Allergy-Friendly Variations
Swapping peanut butter for sunflower or almond butter works beautifully if allergies are a concern—I've done it for friends and the flavor always impresses. Maple syrup lends a gentler sweetness if you want to go vegan, just be sure to use dairy-free chocolate chips. Adding chopped dried cranberries, raisins, or pumpkin seeds makes each batch feel fresh and unique. Oats can sneak in gluten, so choose certified gluten-free brands to be safe. Tiny adjustments easily make this recipe fit almost any dietary need.
Storing and Serving for Busy Days
Chilled oat bites are perfect for grab-and-go snacking—think mid-morning energy boosts, or post-workout treats. Keep them in an airtight container, and they're set for a week of munching, or even longer in the freezer. Once, I wrapped a few in wax paper for picnic snacks—an easy solution if you want to avoid extra mess. They also make thoughtful edible gifts: bag up a batch, tie with string, and share a taste of home. The texture stays soft if stored correctly, but a quick fridge chill revives any bites that seemed dry.
- If bites are too sticky, add a few more oats to firm up the mixture.
- Mini muffin cups are handy for serving or packing.
- Let frozen bites thaw in the fridge overnight for the best texture.
 Pin
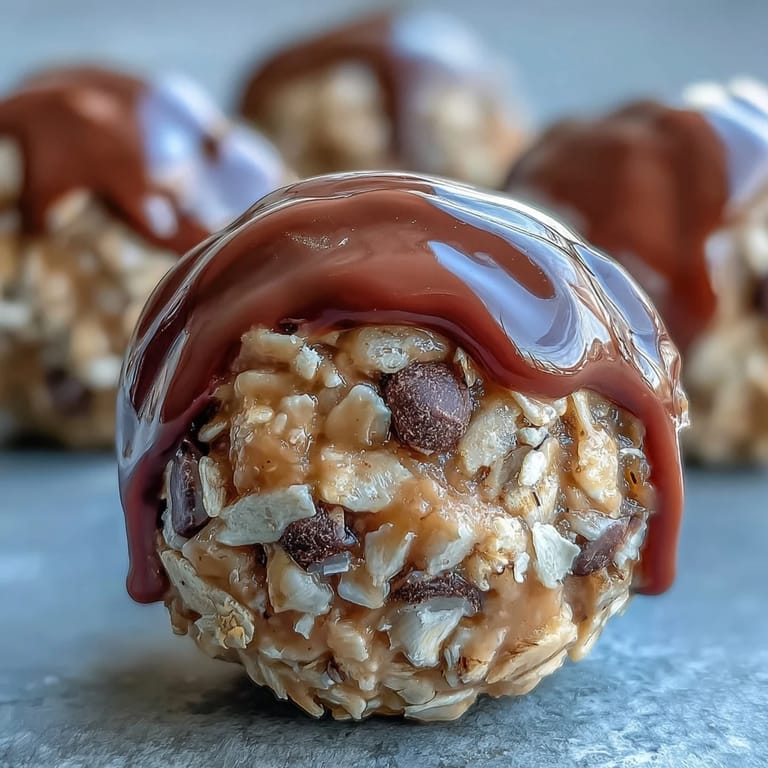
Pin Sharing these oat bites feels like gifting a little moment of comfort, no matter where you enjoy them. I hope they're as handy and delicious for you as they've been for me.
Recipe FAQs
- → How do you keep oat bites from crumbling?
Ensure the mixture is well combined and chilled before serving. Honey and peanut butter help bind the oats together.
- → Can these oat bites be made gluten-free?
Use certified gluten-free oats and dairy-free chocolate chips if needed. Always check ingredient labels for cross-contamination.
- → What can I add for extra nutrition?
Stir in ground flaxseed, shredded coconut, or chopped dried fruit for added fiber and flavor.
- → How long will these oat bites last?
Store in an airtight container in the fridge for up to a week, or freeze for up to two months.
- → Can I make these vegan?
Replace honey with maple syrup and ensure chocolate chips are dairy-free for a plant-based version.
- → What tools are needed to prepare oat bites?
A large mixing bowl, measuring cups, spoon or spatula, parchment paper, and a tray or plate are needed.